
 Timeline
A design skill gives an AI agent a repeatable way to turn your content into visuals that belong together.
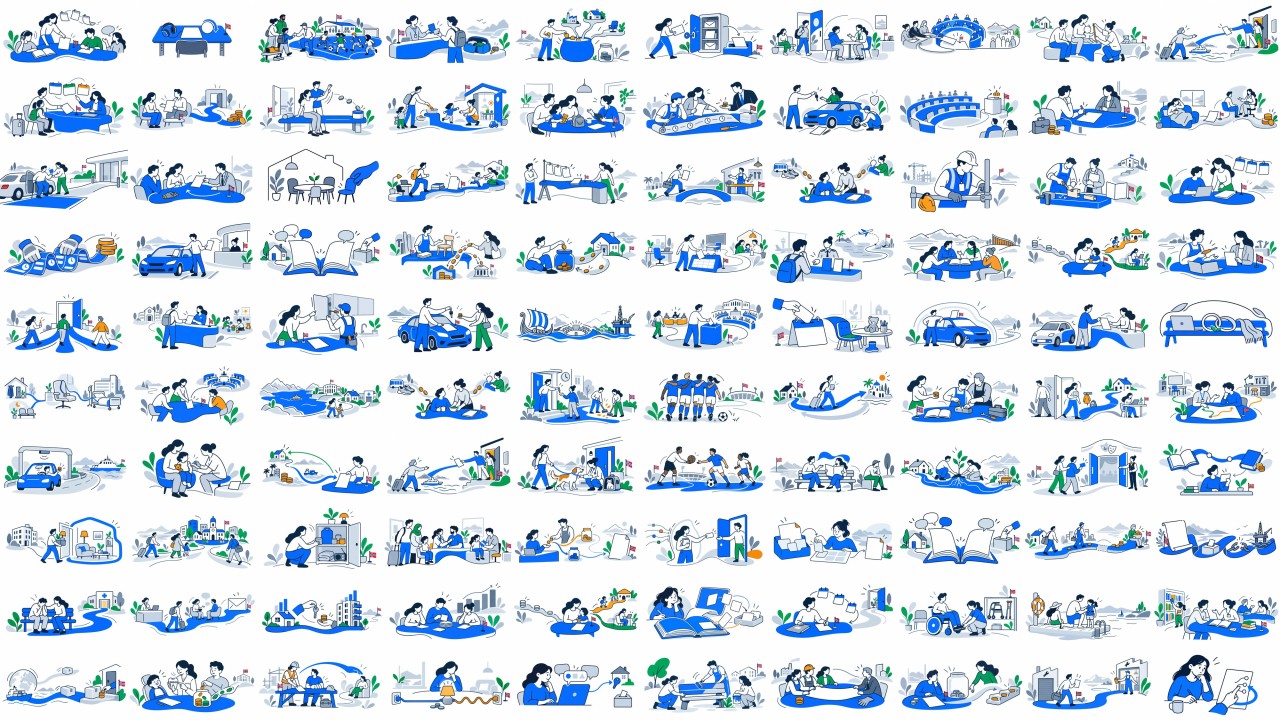
At SamfunnPrep, we wrote down our visual decisions and packaged them as reusable instructions. By 24 September 2026, we had produced more than 500 visual assets and previews. The useful lesson is the method: decide what should stay consistent, what changes with each request, and how a result earns approval.
The diagrams below show how to apply that method to your own project. Short examples from SamfunnPrep show what those decisions look like in practice. Start with one recurring design task and a small set of rules you can actually check.
Give the skill one clear job
Choose an output you produce repeatedly: article covers, product illustrations or presentation graphics. Define when the skill should be used, what information it needs and what a finished result includes.
- When to use it
A cover request
“Create an illustration for this article in our house style.”
- What it needs
Content + placement
The article’s central idea, the image slot and the required format.
- What it returns
A checked deliverable
The final image, the prompt and a short review note.
State this job in the skill’s description using words people will use in a request. In the Agent Skills format, a compatible agent uses the description to identify relevant skills, then reads the instructions and supporting resources. The agent runs the workflow with the tools available in its environment.
Give each kind of guidance a home
Keep the main instructions easy to follow. Separate reference material when it becomes useful, and link to it from the instructions. This is one possible layout for a design skill:
SKILL.md
When to use the skill → what to read → steps to follow → what to deliver.
references/
Your style rules, format recipes and quality checklist.
assets/
Approved references and templates, with notes on what to learn from them.
scripts/
Repeatable checks or export steps that are worth automating.
The format specification requires a SKILL.md file with a name, description and Markdown instructions. Supporting folders are optional. The example below is a starting outline; replace the bracketed fields with your project’s decisions.
A starter you can adapt
Save this outline as SKILL.md inside a folder named brand-article-covers. The folder name should match the name field below; if you rename it, update both.
---
name: brand-article-covers
description: >-
  Create and revise article covers and social previews
  for [brand]. Use when these images must follow
  [brand]'s visual style.
---

# Article covers

## Inputs
Read the source content and confirm the image placement.
Ask for missing content or dimensions before proceeding.

## Visual rules
- Palette and colour roles: [your choices].
- Rendering and linework: [your choices].
- Composition and safe margins: [your choices].
- Text inside artwork: [your policy].
- Reject results with: [specific unwanted features].

## Workflow
1. Identify the idea and relationship to illustrate.
2. Choose a composition for the requested placement.
3. Combine the scene brief with the visual rules.
4. Use an available image tool.
5. Inspect the saved result and its final crop.
6. If a check fails, revise and check again.

## Deliver
Save the final image and prompt.
Summarise the checks and any unresolved issue.
When this grows, move detailed rules and examples into supporting files and tell the agent exactly when to read them. Set up the skill through your agent’s supported installation flow and confirm that its required tools are available.
Shared prompt blocks
For SamfunnPrep, we keep the core style in a reusable block, copied unchanged into each image prompt. The asset type and scene provide the variation. A shared no-text instruction keeps lettering out of the artwork, so page headings can change or be translated independently.
In your own skill, give recurring visual decisions a stable home and make the changing inputs explicit.
Translate taste into observable rules
Take a few visuals you would approve and describe why they work. Identify the repeated decisions: hierarchy, colour roles, shape, spacing, level of detail and treatment of text. For each rule, write how you would check it.
Define the approved palette and the role of the main accent.
Does the result use those colours in the intended hierarchy?
Give the main idea clear emphasis and keep essential forms inside the final crop.
Can you recognise the idea at its actual display size?
Specify the exact region reserved for page text in this layout.
Overlay the real title. Is it legible in every required crop?
Also name the choices the agent can make freely: the scene, the arrangement of supporting objects or the metaphor. This keeps the collection coherent while allowing different subjects to have distinct images. Annotate reference images with the features to preserve; an unexplained example leaves too much open to interpretation.
Colour hierarchy
SamfunnPrep uses a palette of eight fixed colours. Brand blue #155DFC carries the main chromatic emphasis; green signals progress, amber draws attention and red stays a small accent. These roles tell the agent which colour should lead and when a secondary colour serves the subject.
When defining your own palette, describe colour roles and relative emphasis alongside the colour values.
Combine the saved rules with each new brief
Keep your visual identity in the skill. Supply the article, subject and placement with each request. The agent brings those two sources together when it prepares the generation brief.
The visual system
Style rules · reference examples
Format recipes · acceptance checks
The specific brief
Subject · intended meaning
Placement · required dimensions
A complete image prompt
Your visual rules + the selected format + a scene derived from the content.
- Create
Generate or edit
Use the available image tool.
- Review
Inspect the result
Check meaning, style and final placement.
- When approved
Save the output
Keep the image, prompt and review note.
A format recipe only needs to explain what changes with the placement. A cover may need a broad scene; an icon needs a simple silhouette; a background needs room for real content. Set these requirements for your product, then inspect the delivered image where it will actually appear.
Composition by placement
SamfunnPrep’s article covers use several connected forms spread across the area that survives the final crop. Decorative page backgrounds use sparse forms around text and controls. Both share the same visual style, with separate recipes for composition and density.
For each placement in your own product, describe what the image must communicate and what space it must leave clear.
Use failed outputs to improve the right part
Try a small group of briefs: a familiar subject, an unfamiliar one and a difficult placement. Review them against the same criteria. Record the failure before deciding whether to change the task brief, the shared rules or the tool setup.
Where does the failure belong?
The idea is unclear
Rewrite the scene or correct a local detail.
Update the task briefThe same drift repeats
Clarify a shared rule or add an annotated example.
Update the skillA required step cannot run
Check tool availability, input files and export support.
Fix the setupRerun the affected brief and a previously successful one. Keep the change when it fixes the problem and preserves the earlier result’s quality.
Start with visual review. Add automated checks when a repeated, measurable issue justifies them, such as dimensions, file format or unwanted transparency. Those checks support a decision about the image’s meaning and usefulness.
Visual review and automated checks
In SamfunnPrep, review starts with a visual checklist. The skill also offers an optional audit of colour shares, palette drift and approximate cover coverage. The audit is advisory: a picture can use the right colours and still fail to explain the article.
Apply the same principle in your own skill: automate measurable checks and keep an explicit review of meaning, composition and placement.
Build the smallest version you can test
Your first version can be short: one clearly described job, a few visual rules, a workflow and a definition of done. Install it in a compatible agent, invoke it explicitly and check that it follows the intended steps. Use the test results to decide what to add next.
SamfunnPrep’s experience gave me a reason to invest in this reusable layer. For another project, the colours, style, formats and tools may all be different. The same method still applies: make decisions explicit, test them on real work and keep the useful ones together.
The next image should start with what you have already learned.
P.S. I first wrote about this project on LinkedIn on 24 September 2026. For this edition, I added the diagrams and starter outline to help you build a skill around your own visual identity.
The practical examples draw on our SamfunnPrep design skill (private repository), and you can see the results in SamfunnPrep’s article illustrations. For the file format and metadata requirements, refer to the Agent Skills specification.